Sunday, May 23, 2010

An outing, and an Owlie plan

I went out yesterday and decided to pick up some more fabric to make a bigger stuffed owl. I wanted something soft and cuddly, something my child would enjoy. I haven't made it yet, but I probably will today. Here are the fruits of my shopping trip (excuse the wrinkle of the fabric on the far left!)

I was actually looking for more of the Apples and Pears pattern when I ran across the one on the left. I have seen that one a lot recently because it is BIG in the cloth diapering community. The other two are a cream minkee and a brown minkee. Well, kind of...I found out that Minkee is actually a brand name so mine are generic knockoffs. Not bad though, they are super soft and nice, perfect for a stuffed cuddly owl! My husband is going to draw this pattern for me so it doesn't turn out uneven, and I will definitely make a seam allowance, too.
Here is one of the many diapers I have seen in this pattern, this is a Kissaluvs Marvel diaper in Mocca. I honestly thought it was branded until seeing the same pattern on a few other diapers when I visited The Happy Baby Company (a cloth diaper store) recently. I love the pattern, it is going to be for snack bags!
I also bought a pack of Viking bobbins. Regular bobbins don't work in a Viking machine, as I found out recently. Well, it is possible they fit in the bobbin case but you 100% cannot wind them on a Viking machine. You read that right...$12.95 for a pack of 11. What the heck.

Thursday, May 20, 2010

Owlie!

I decided today I wanted to make a cute stuffed owl. I could not find a pattern I liked, so for the first time, I winged it!

I used a paper bag to make my pattern. Ok "patternish thing".

I drew this free hand. Yea, I know, you can tell. I just used the shape, I winged the rest.
My pattern and the scraps I used.
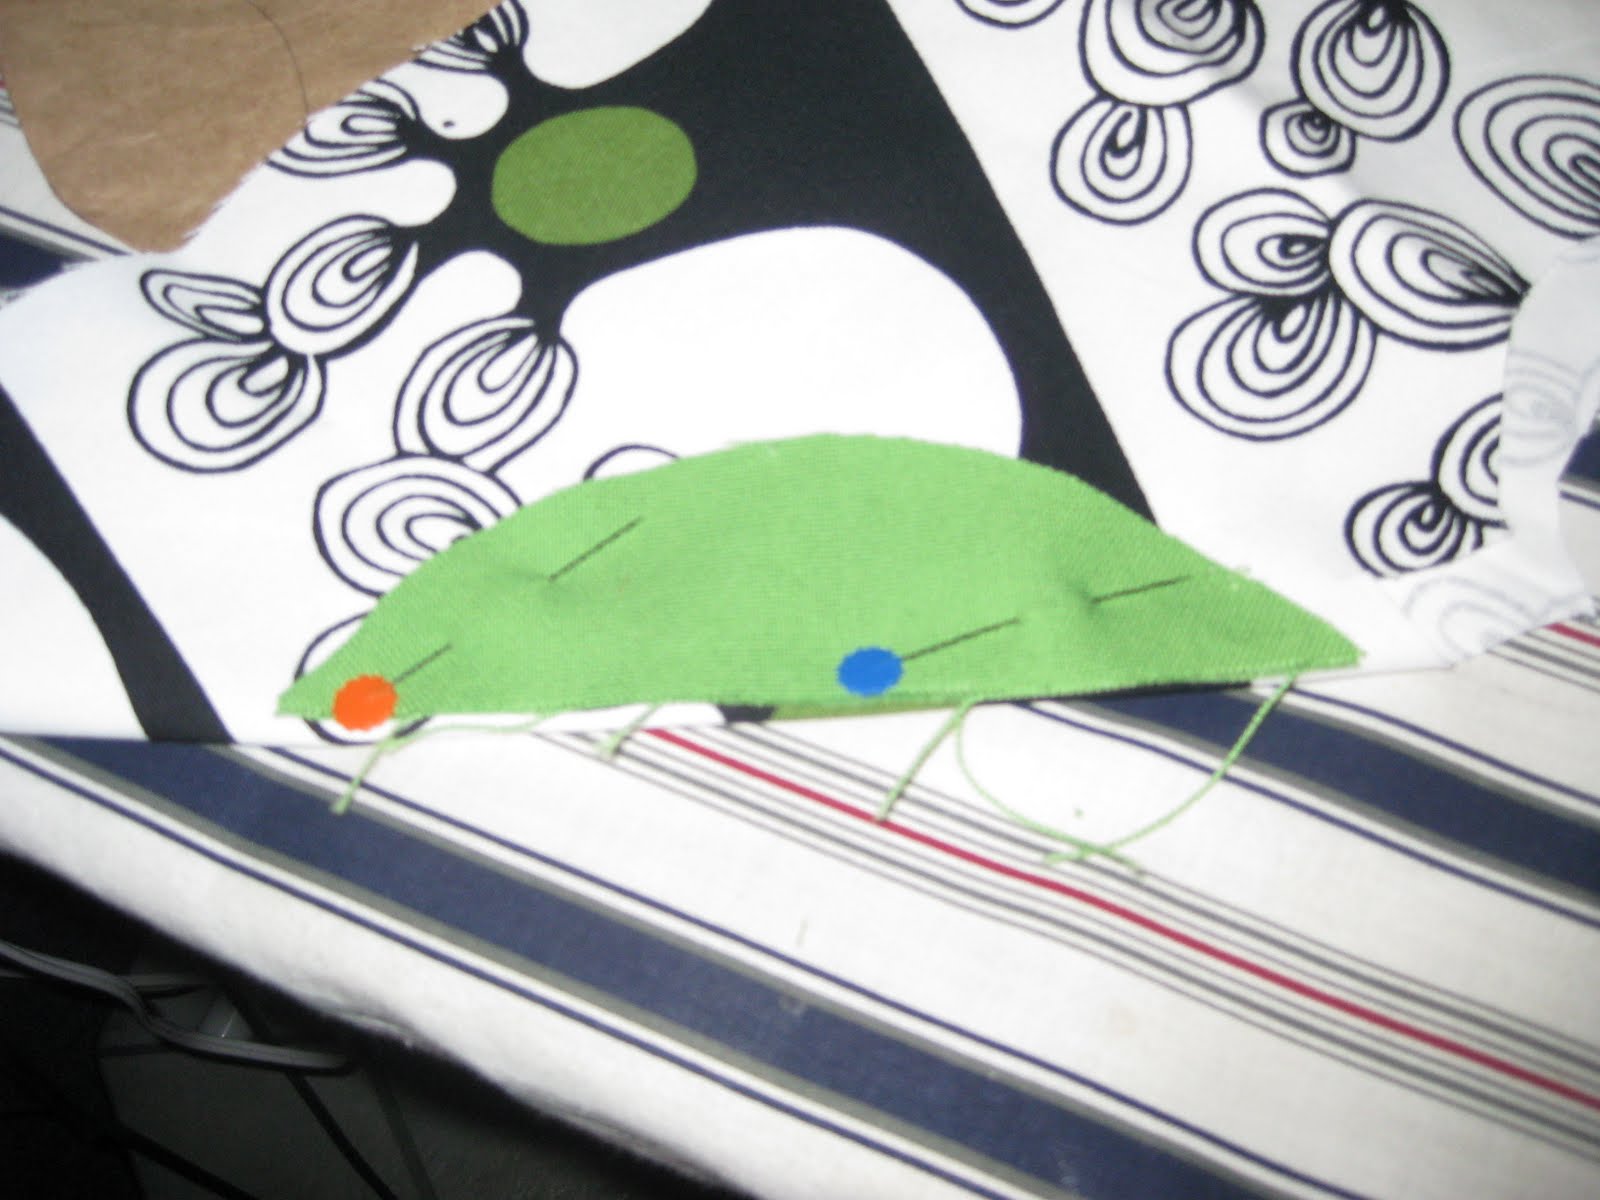
I cut out the body, and liked the little arc above the Owlie's head, so I used that as the "wings". I just used this as my pattern and cut the fabric piece I wanted, folded. One cut, yay!
I sewed the eyes on by hand. Not perfect, but this is a tester anyway, not meant to be fancy or 100% perfect. If I were doing this again, I would make the eyes lower. At this point, I wasn't thinking about seam allowance, but I should have.

With the wings. I am normally not very good with curves/circles but I think this turned out just fine! I was very pleased. I love this sewing machine!


After sewing the right sides of the head together and the wings on...
All sewn together. I was not able to get the ears as point as I would like, but it turned out OK.
It is not as uneven as it looks, that is just the angle.
The crappy hand sewing job I did on the bottom. Don't judge me! My kid looks pretty excited...
Yay!
This one was fun! I made many mistakes but I think it turned out pretty cute. I will definitely make the eyes lower next time, and use a different fabric. This is upholstery fabric from Ikea so it frays quite easily. Not easy to work with!

Monday, April 5, 2010

Snack bags Part Deux

Today I continued my project, with many road bumps in the way! My white bobbin ran out and for some reason it did not fit on the winder on this machine. Apparently Husqvarna has their own size of bobbin. I thought I was out, but a few hours later I remembered the little accessory trap door at the back of the machine. SCORE! One green bobbin with an ugly color on it. So I unwound it and went along my merry way.

Here is an example of my lack of cutting skills, making a snack-sized bag. I winged the size by using half of a ziploc.
These were meant to be the same size. Fail. Usable fail. I also screwed up the velcro on the red one pretty badly.
I had a long narrow scrap of my patterned PUL so I winged this one into a little snack pouch.
I like the way this one turned out!
This is a full sized bag. I had to be extremely careful with this because of the pattern. The others were more forgiving, this one is straight lines.
Almost finished product. The lines actually line up pretty well on each side and side to side.
My work from today. Outside of the green starred one, I think they all turned out well!

Sunday, April 4, 2010

It has been over 4 months since I sewed...wowza!

Finally, I have my sewing area back. We were temporarily using my sewing table as a TV stand but we moved it today and I am all ready to go!

Today I was making my lunch for work tomorrow, and I thought to myself, jeez, I use a TON of ziploc bags! Today I think the count was 7. What a waste! Then we went to Easter dinner and my sister in law happened to have a reusable snack bag with her. Brilliant! I had seen patterns but I needed a really easy one since PUL is a PITA. I used this tutorial from We Wilsons. It could not have been easier!

I decided to make 4 baggies just to see if I like them. I made them full sandwich bag size. This was purely because I have no snack sized bags to use as a template. I cut my scrap fabric with the rotary cutter. The three in the front are cotton fabric, the animal print behind them is a printed PUL, and the white under that is 3 sheets of plain PUL.

I cut the velcro, but not according to the tutorial. I kind of winged that part. I have really wide velcro so I cut each piece in half lengthwise.
I ironed my very sloppy looking fabric. The printed PUL was a bit wrinkled as well, so I ironed that very carefully on low.
I started by making a baggie with the printed PUL. I figured this was my easiest bet since there would be less steps. I sewed the velcro to each end, going across each piece 4 times. It isn't exceedingly neat, but I am not going for neat here, just for utility.
Then, I got to the point where you turn it inside out to sew the sides together. I remembered what a PAIN IN THE ASS PUL is to sew!! Then I remembered a tip a sewing colleague of mine told me. She said whenever you have something fluffy, slippery, or difficult to hold still, just put a piece of paper on it and sew through that. It will rip right off just fine after you sew it together. Well, looking through the supplies from my mom I notice I have something that seems as if it was made for this purpose (on the left). It is a fibery paper material that you can pretty much see through, and it rips off the stitch really quick.
My finished monkey bag! I did do the topstitch around the edges to make it neater.
Then I started #2, in Apples and Pears, with the plain PUL liner. I used the same paper trick. This one was a tiny bit more work, but not much.
The finished inside, before turning out.
Topstitched finished product! Not perfect (as you can see the seams on the outside are uneven), but I like it!
A view from the inside!
All in all, two bags, including the cutting for 4 and all, took about 30 minutes to make. I think the other two will go much faster.
I am going to try my hand at snack sized bags next. I have a lot of scrap and a TON of PUL so this should be fun!

Thursday, December 24, 2009

A cute keychain project!

I got the idea for this keychain (I needed a new one) from The Idea Room, and used her pattern. It has been awhile since I have sewn anything so it was a lot of stop and start, though all in all, the idea is very simple.

First, my workspace. My sewing table houses our 4" Charlie Brown Christmas tree, so this is our kitchen table. There is also wrapping paper and bits of cake on the table. Lovely.
I picked the Apples and Pears fabric. I used only scrap for this project.
I had some nice green upholstery fabric from Ikea. This would turn out to be a mistake. It unravels very easily and it just didn't work the way I hoped it would. I got all the way to sewing the two sides together when I realized the green had to go.
So...I picked a different green. This one was regular fabric-y fabric. It worked much better. See those scissors under the green? Those are my new love. These new scissors are AMAZING. They cut like they are going through melted butter.
The pieces ironed, folded, sandwiching interface, and ironed again.

As you can see, many mistakes were made. It needed a very narrow hem (is that the right word?) and in some places it didn't "catch" the back. That isn't so much a sewing mistake as a cutting/ironing mistake.
I didn't have the ribbon the pattern calls for, so I used some bias binding I had lying around. The brown actually matches the leaves on the fabric quite well. I was going to use dark thread to do this part, but I didn't have a "blank" bobbin to use so I just went with white.
As you can see, the white isn't terrible but nor is it anywhere near perfect.
I did do one thing definitely wrong. I wanted this to be long enough to go over my hand, but unfortunately I miscalculated how much to cut off after sewing them together. I will remember this for next time!

Tuesday, December 22, 2009

Too long, again!

The sewing machine is all packed up for the time being, because our sewing table now houses our Christmas tree (our very small, plastic tree).


However, tonight I will take it out and take over the kitchen, because I really want to make one of these keychains. It is just what i am looking for! My current keychain is 3 months old and falling apart already. If I can get the purse clips today, I will make it today. I have a ton of scrap that would do this well.


Also I just have to show off the gift I got for my birthday (12/21) from my mom:


Sorry for the strange picture. Anyway, these are Gingher 8" sewing scissors. The BMW of scissors. Apparently my mom has noticed that my cutting skills are worse than bad. Woo hoo! Maybe I AM destined to cut in a straight line someday!

Tuesday, November 3, 2009

It has been FAR too long!

Today I made a pair of fleece longies (pants that are also a cloth diaper cover). I used this tutorial.

First I made the pattern according to the tutorial. This was more of a pain that actually sewing it, believe it or not!
Cut out the legs, leaving a 1/4" seam allowance. This is some nice blue fleece that my mom had leftover from making my grandma what was pretty much an adult sleep sack.
Pinned them, right side together.
I sewed the legs and waist together.
Pinning together the rise. I ran into some trouble here, and in the crotch. It left a big hole, I was too conservative not coming to the end every time.
Obviously things were going too well. This was not good.
Stretching out the waist to fit the pants.
Done! They are probably too long but they will fit before much time passes.